
How to Drill A Drainage Hole for a Potted Plant
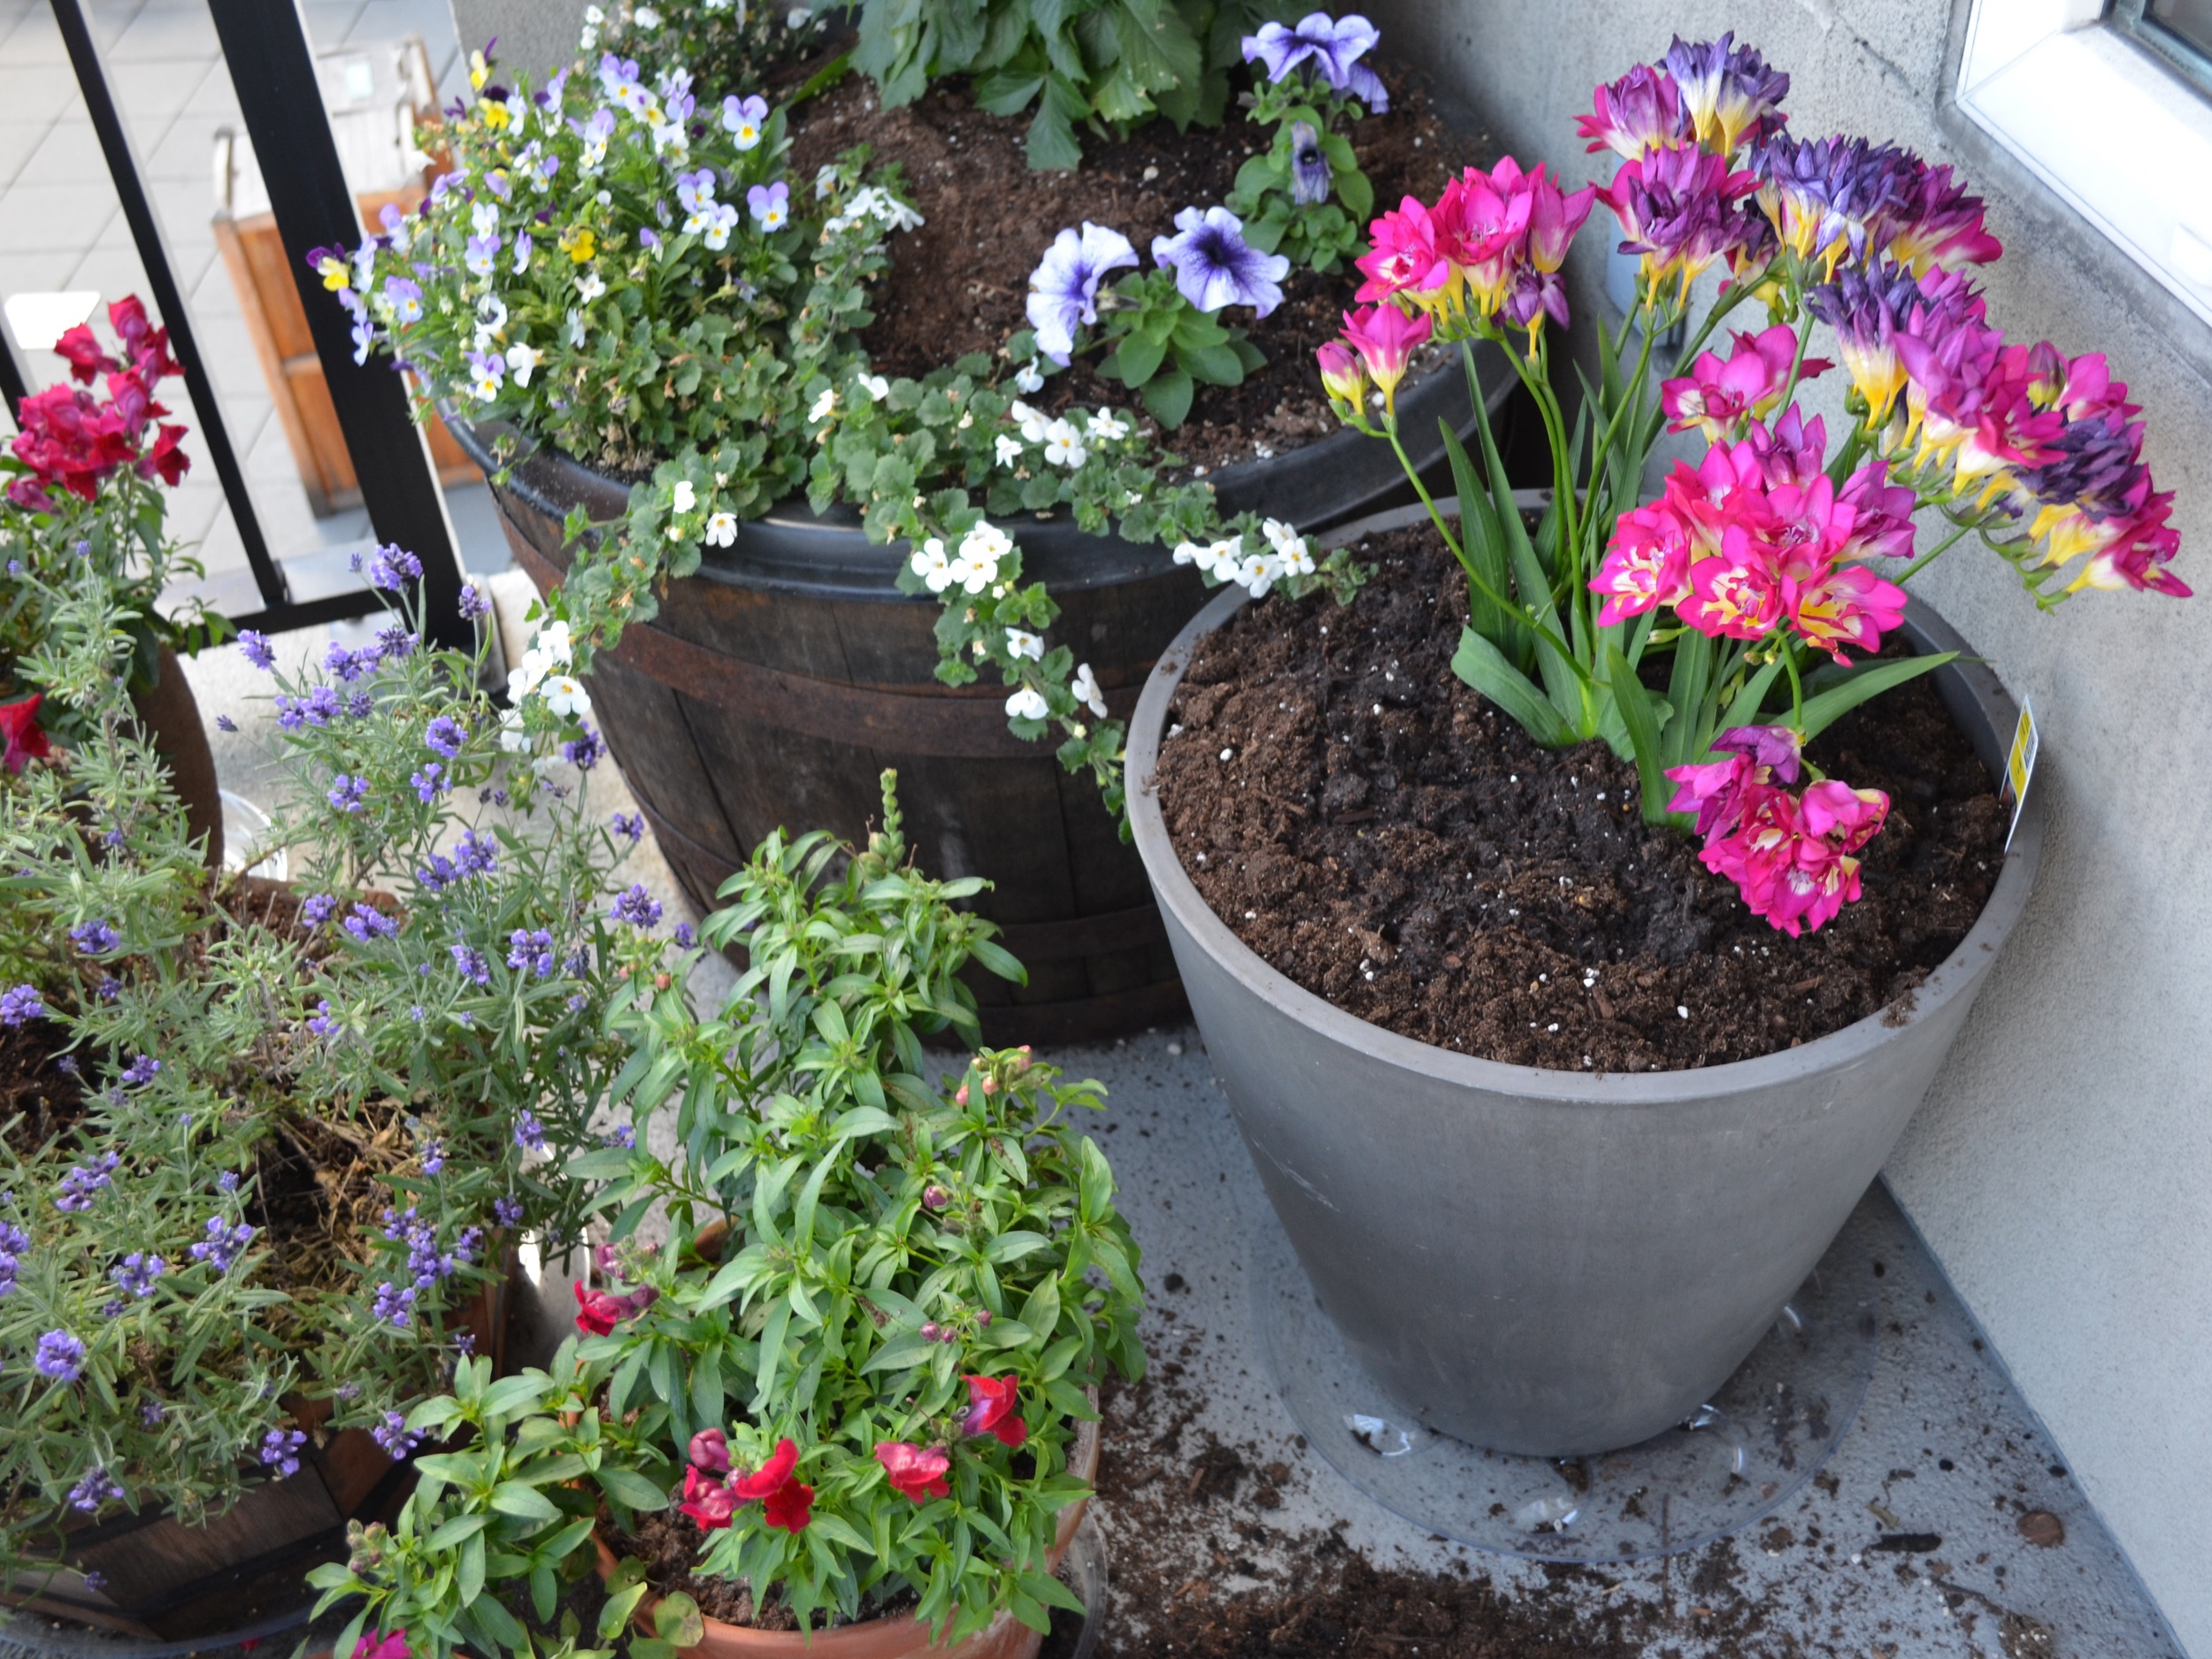
Why does it seem like the cutest pots do not have drainage holes in the bottom? Last summer I was tempted and bought three pots that did not have drainage holes because they were so cute. Of course, I had to replace the two smaller plants around the Fourth of July because they weren't doing so well without drainage. I put the most lovely smelling rose bush in the larger pot and it thrived all summer, made it through the winter and then died as it suffered root rot in May after I unwrapped it and it was exposed to the great rains of spring in the Pacific Northwest.
This year I decided to take matters into my own hands and drill holes in the bottom of these lovely pots. I am not a drill master and was not sure that it was going to work out, but it was surprisingly easy!
Here's how I drilled the holes:

1) Gather the necessary supplies: a drill (make sure it is charged if it is cordless); a diamond head drill bit; a towel; and a spray bottle or dish of water.
2) If your pot has dirt in it, empty out your pot and clean it out. You can see how wet the dirt was at the bottom of my pot (no wonder the rose bush had root rot!), so I had to dry it with a paper towel and then let it air dry for a bit as well.

3) Lay down a towel. Turn the pot upside down and place it on the towel so that the bottom is facing up.
4) Spray a generous amount of water or just pour a little bit of water on the bottom of the pot.
5) Get ready to drill! Note that if you are drilling a ceramic pot, it may make a loud screeching sound. The whole process takes a few short minutes so do not be deterred by the noise.
6) Hold the drill on a 45 degree angle and start drilling. Be careful because the drill can jump around a bit until it gets a grip on the bottom of the pot. A bunch of the other online tutorials that I watched recommended turning the drill on before putting it against the pot, but this did not work for me. Go slowly and figure out what works for you.
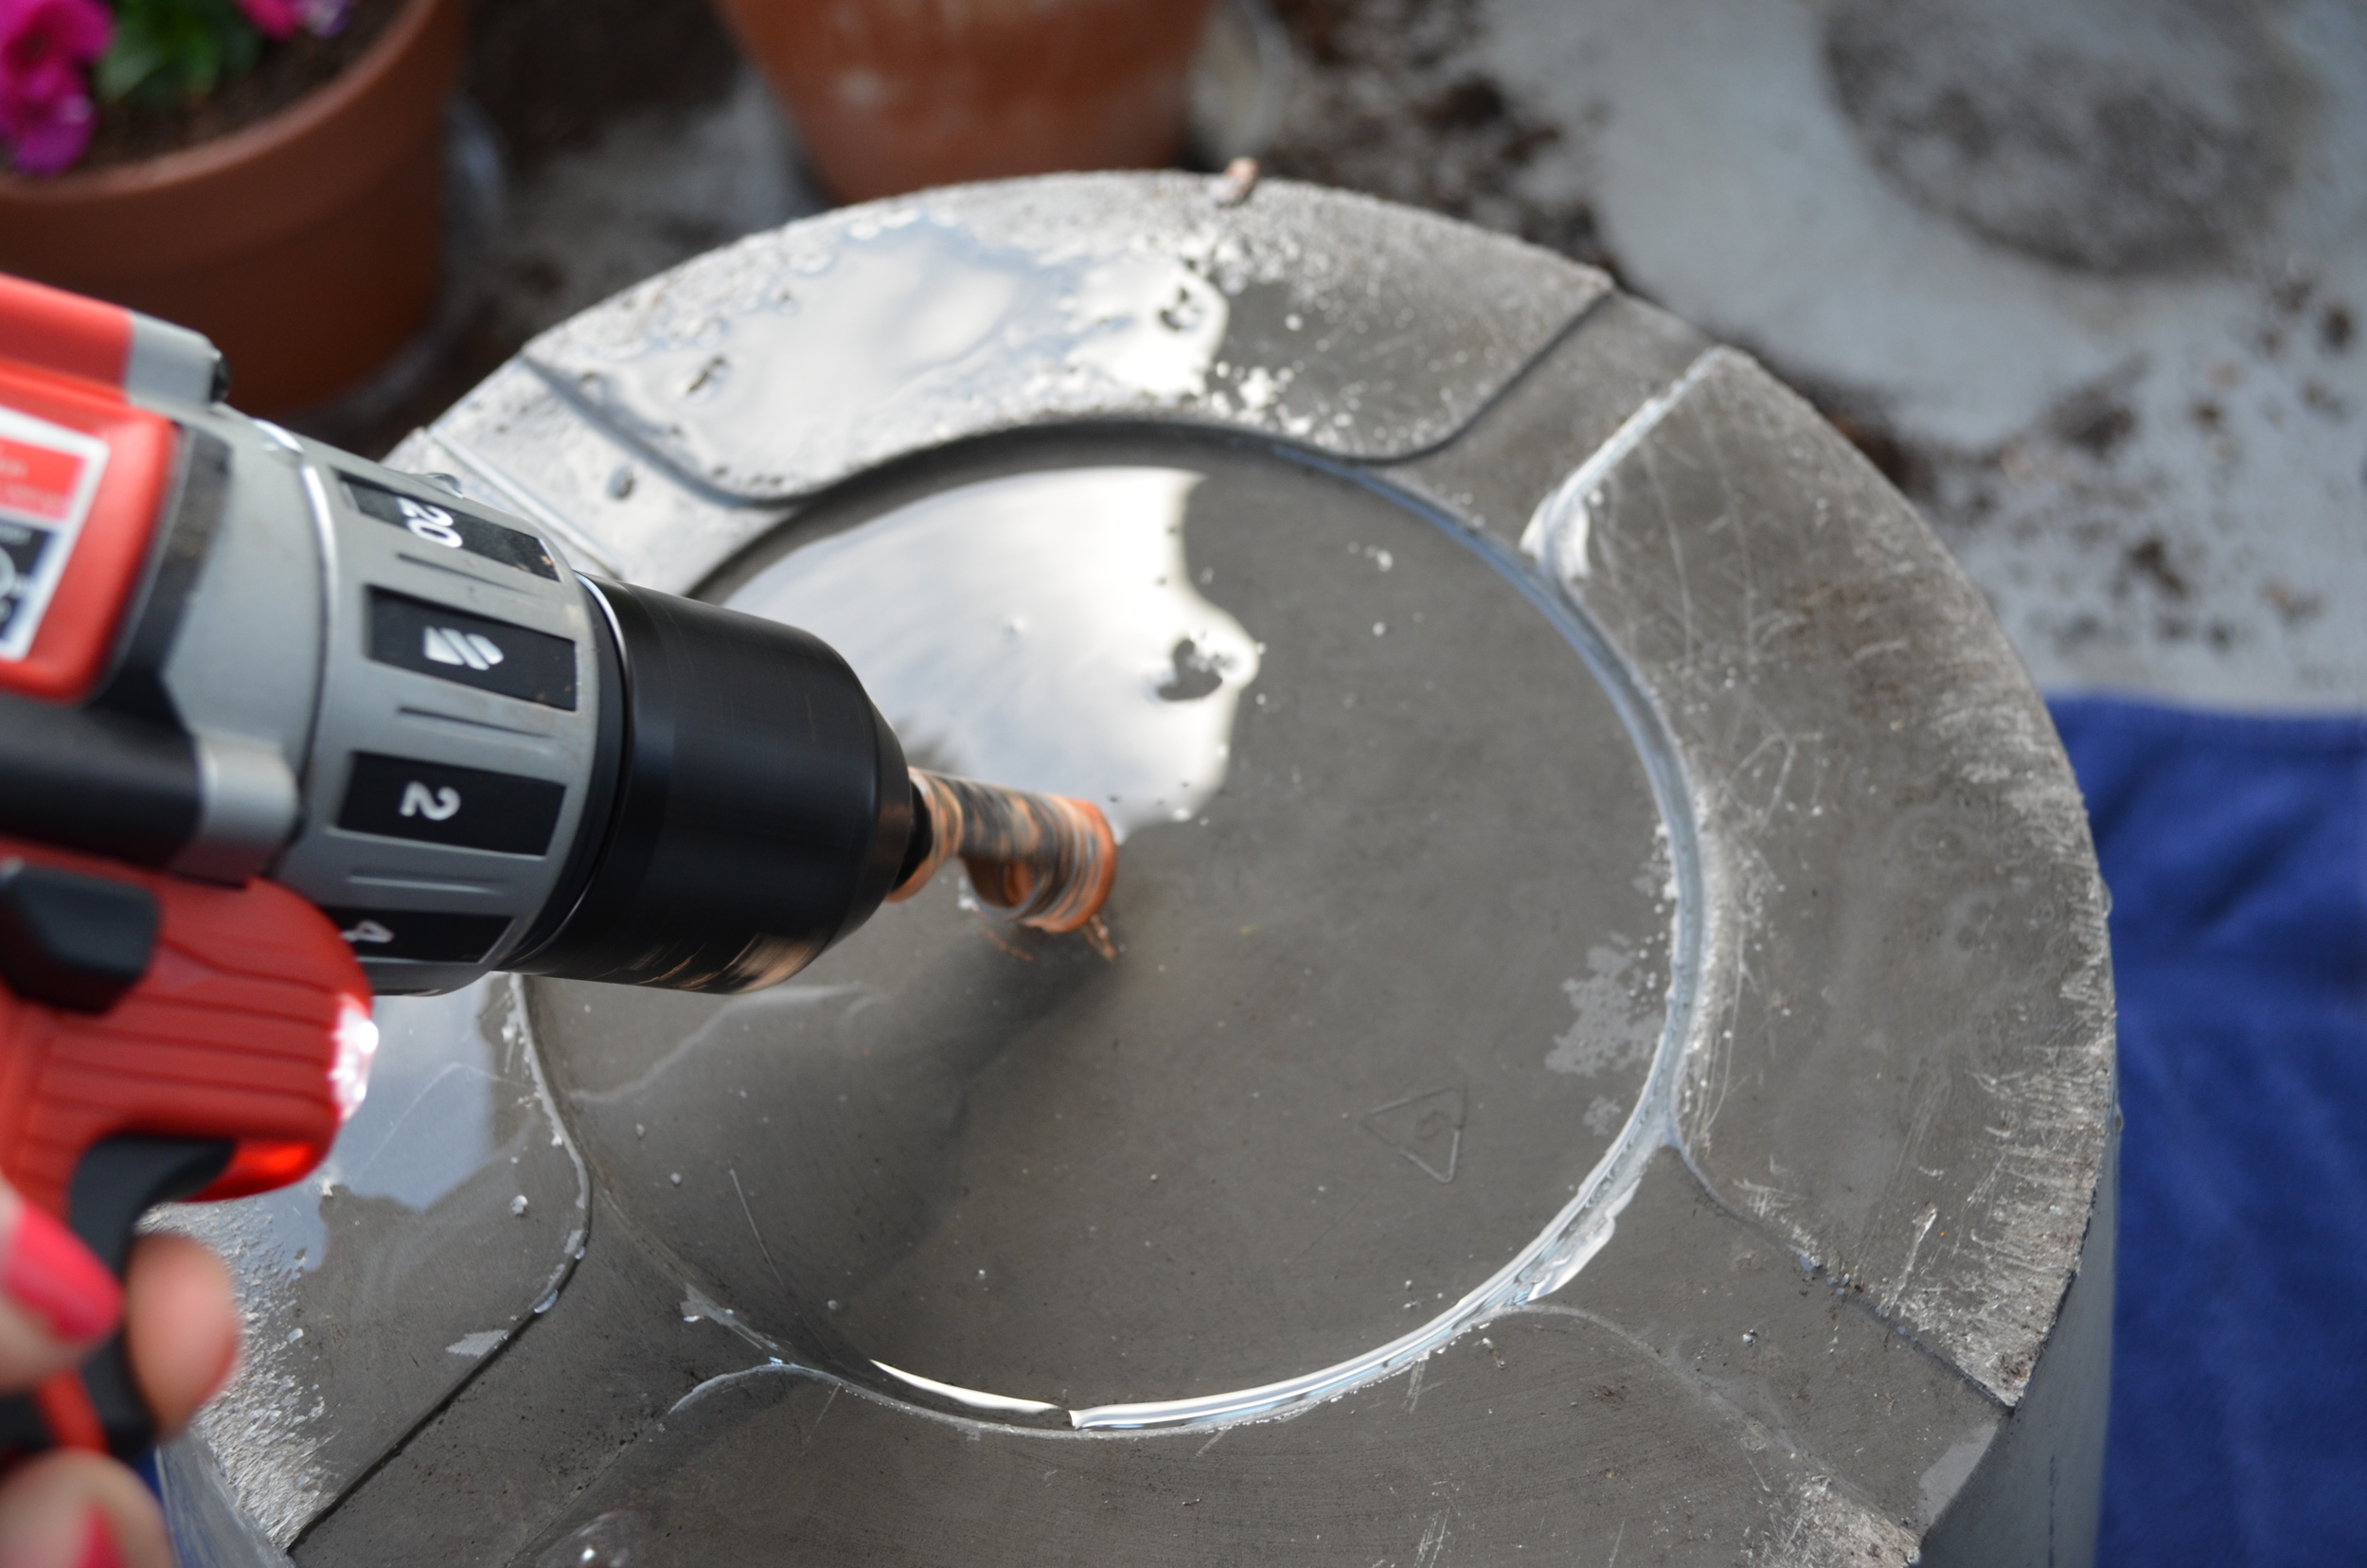
7) When you feel a good ridge in the spot you are drilling, move the drill to a 90 degree angle (straight up in the air) and continue drilling until the drill goes through the pot, leaving a hole. You may need to add additional water as you go along. Be extra careful that you are putting pressure on the drill, but not leaning your body weight on the drill because you could fall over when the drill goes through the pot as it can go through quite suddenly.


8) If you want an additional hole or holes (depending on the size of your pot and the size of your diamond head drill bit), start at step number 4 and work to the end. Just make sure there is a reasonable amount of space between the holes.

9) When you have as many holes as you want, you are finished. Turn the pot over, clean up the towel (it will probably be a bit messy so make sure you do this somewhere you won't be upset if it gets a bit wet or sludgy) and plant your beautiful flowers.
Happy planting!